Entering a Counseling Date
This lesson instructs managers on how to enter a counseling date, which enables the ability for the employee to acknowledge and respond to the counseling
Step 1 - Deliver Counseling to Employee
Deliver counseling to the employee, referring to the specific verbiage entered on the counseling form
- Refer to performance management postings on the Alorica intranet
Step 2 - Select Counseling Date
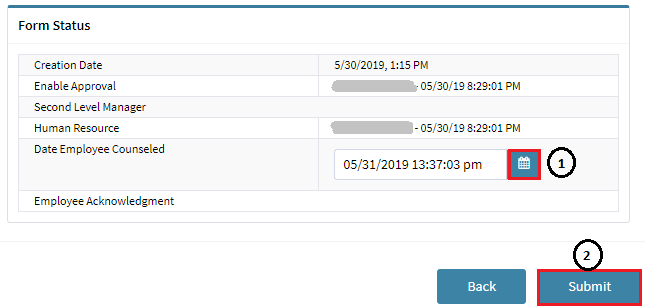
From within the Counseling form, if the counseling session took place on a date other than the current date, click the date selection icon, select the date that the counseling took place, and click the Submit button
- Upon entering a Date Employee Counseled and clicking the Submit button, the employee is notified that the form was created and is able to view and respond to the form.
- For termination approvals, the Date Employee Counseled should reflect the date that the employee was terminated, and, unless the employee is expected to review and respond to the Counseling form, the counseling date should be entered AFTER the employee is escorted out of the building.
Step 3 - Confirm Counseling Date

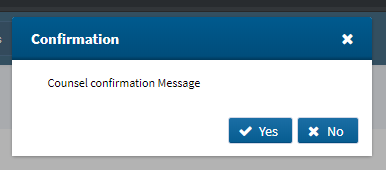
Click the Yes button on the resulting webpage message or No to return to the form
This step generates an EIS message to the employee, notifying the employee that a counseling form was created and is ready for acknowledgement and response
Next step: Employee Response and Acknowledgement
